StoryPaws – Visual Dialogue & Localization for Unity
A downloadable tool for Windows
StoryPaws is a visual dialogue authoring and spreadsheet localization tool for Unity.
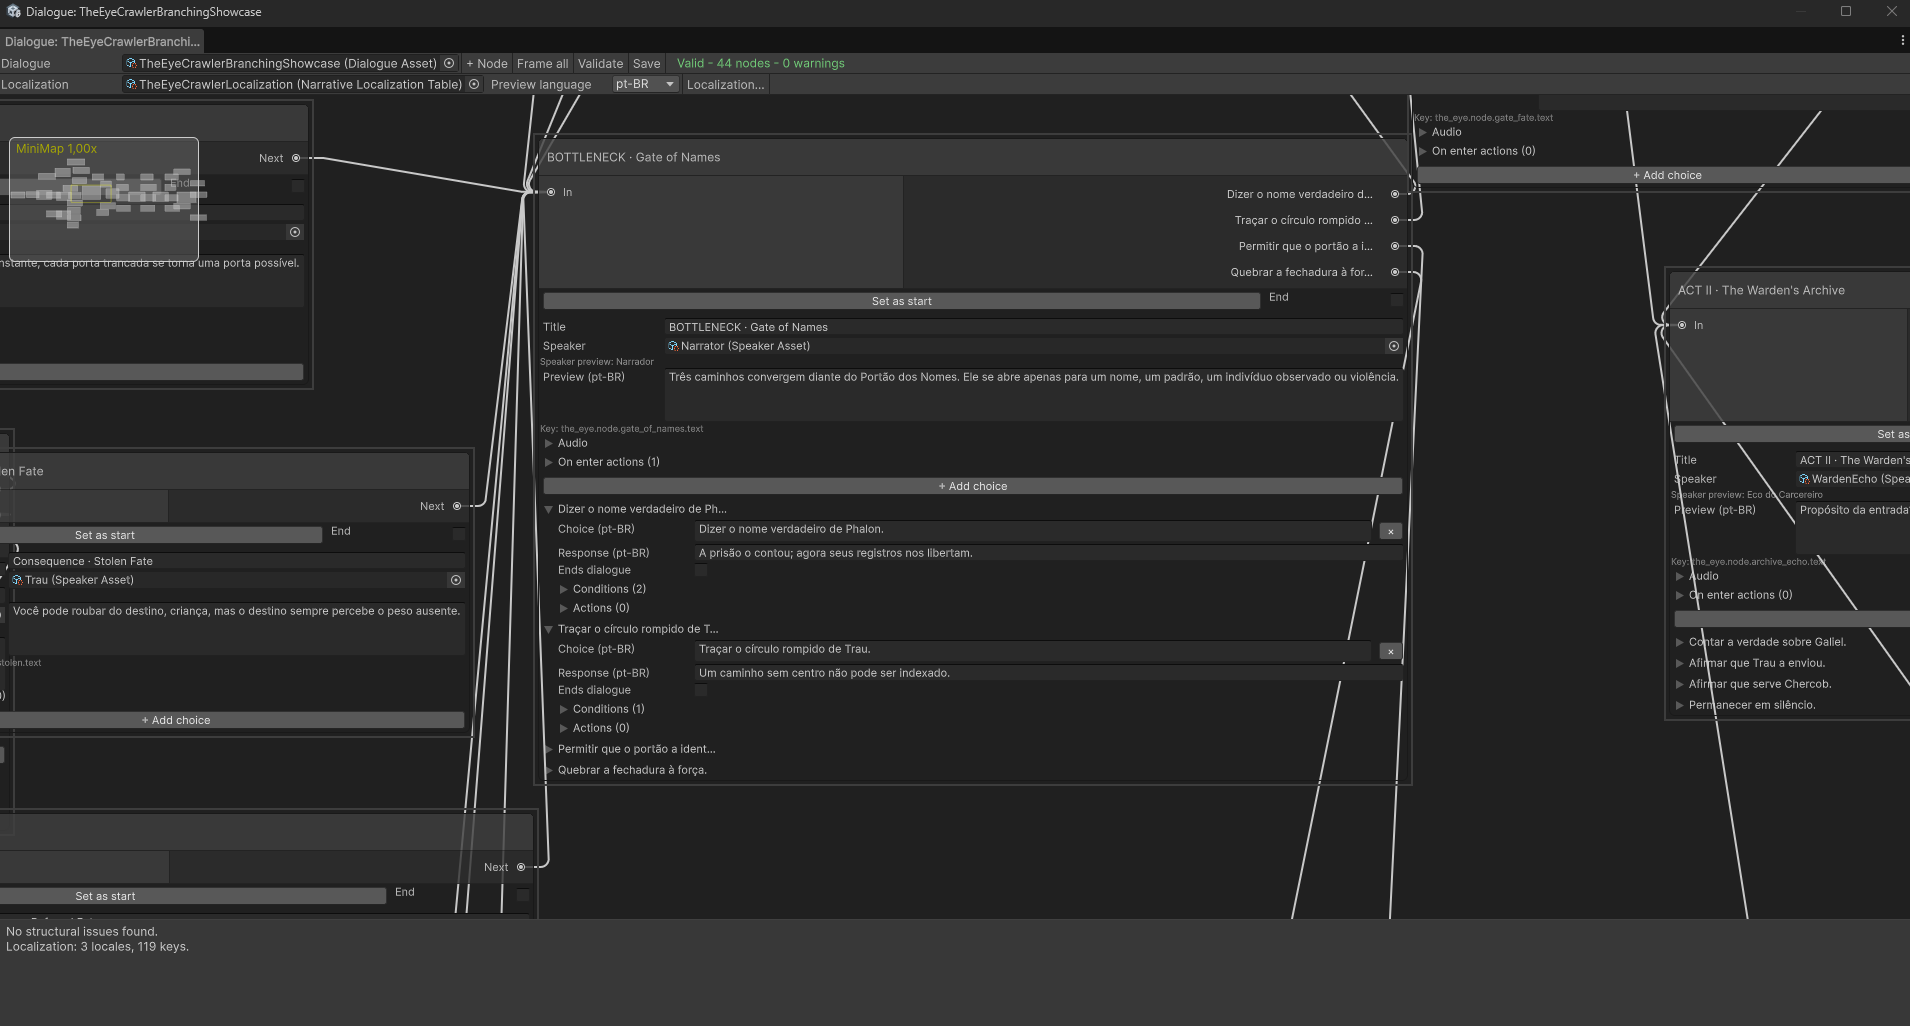
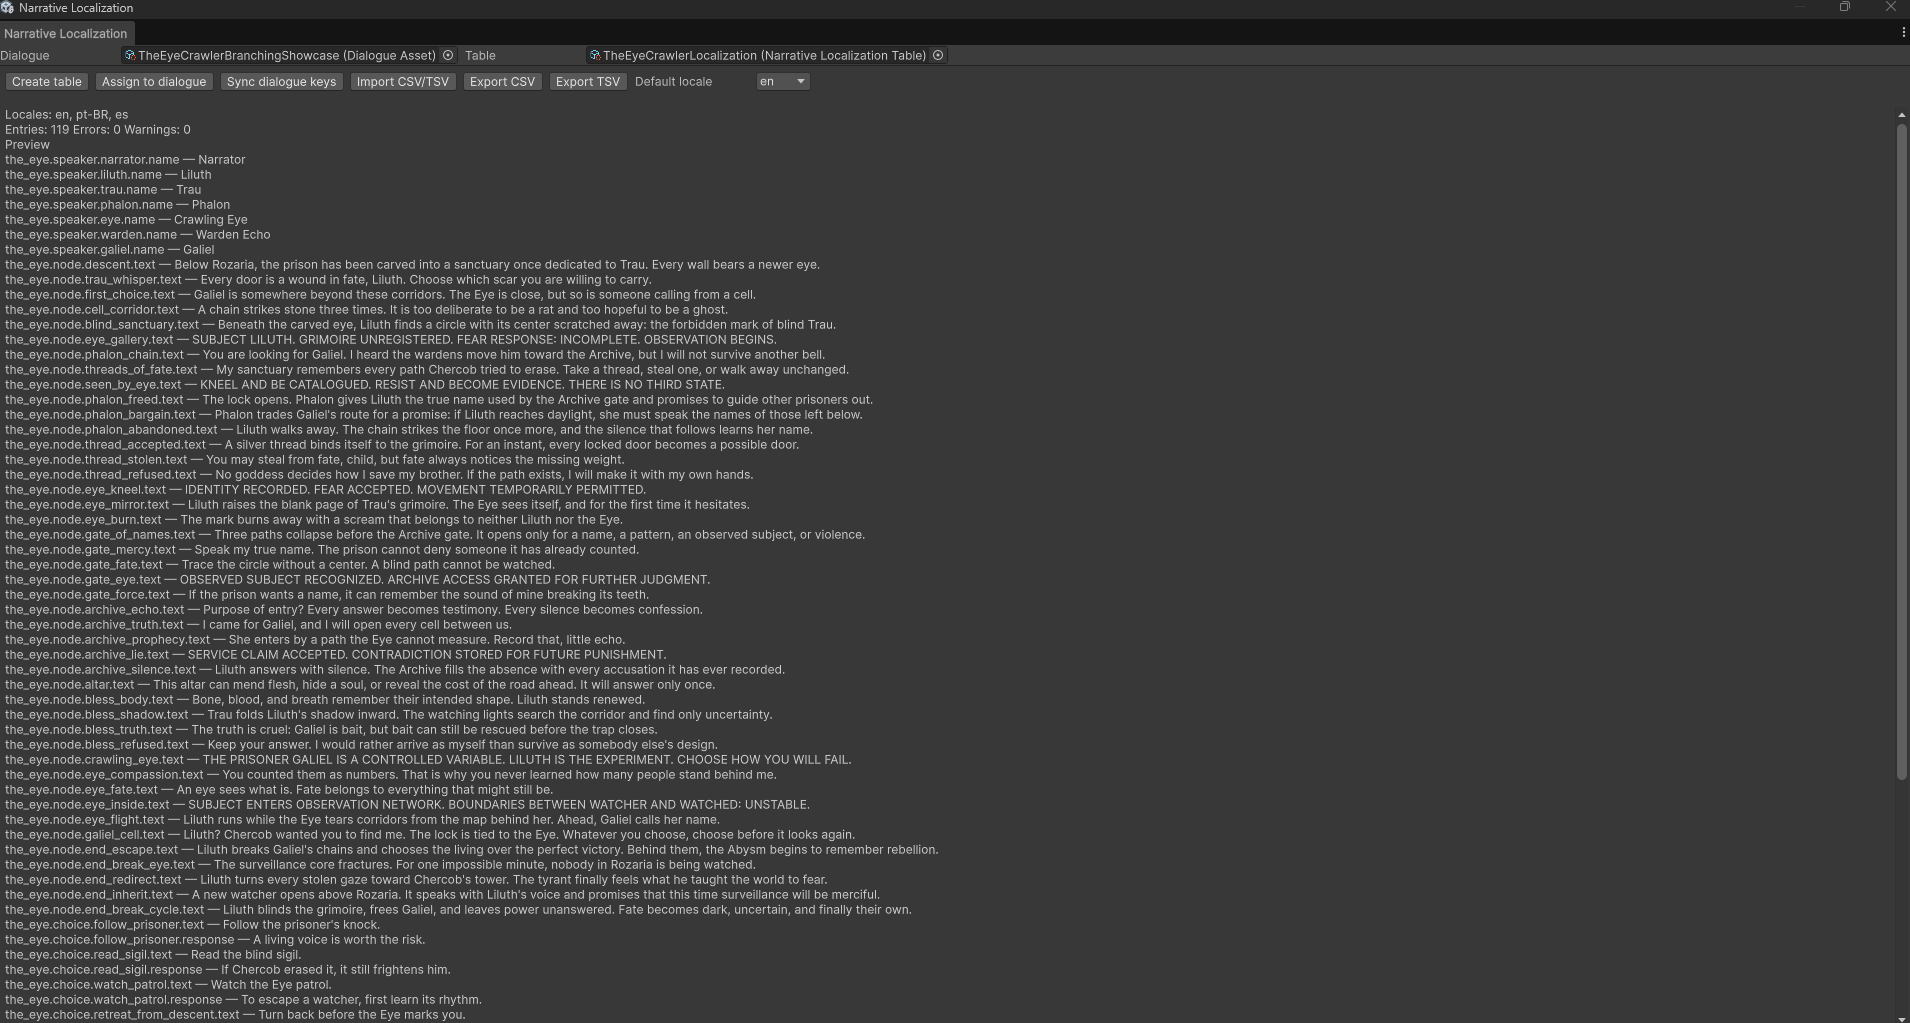
The package includes a visual node editor, branching choices, conditional logic, game actions, CSV/TSV localization, language preview, audio instructions, runtime dialogue state machine, optional uGUI/TextMeshPro and Input System adapters, validation tools, documentation, and an importable Getting Started sample.
The Getting Started sample is available through Package Manager > StoryPaws > Samples. The main editor windows are available under Window > StoryPaws.
The package was tested in a clean project, in player builds, and with Built-in Render Pipeline and URP. Release Validation and Asset Store Validator completed with no errors or warnings.
1. Install StoryPaws
UPM installation — recommended
- Extract
StoryPaws-1.0.0-UPM.zip. - Close the Unity Editor.
- Copy the complete
com.dogstale.storypawsfolder into your Unity project'sPackagesfolder. - Reopen the project with Unity 6000.4.6f1 or newer.
- Open Window > StoryPaws > Welcome.
Unitypackage installation
- Open your Unity project.
- Install Unity UI and Input System from the Unity Registry.
- Select Assets > Import Package > Custom Package.
- Select
StoryPaws-1.0.0.unitypackage. - Keep all StoryPaws files selected and choose Import.
- Open Window > StoryPaws > Welcome.
Do not install both editions in the same project.
2. Import the sample
For the UPM edition:
- Open Window > Package Manager.
- Select StoryPaws.
- Open the Samples tab.
- Import Getting Started.
Import TextMeshPro resources through:
Window > TextMeshPro > Import TMP Essential Resources
Open the StoryPawsGettingStarted scene and enter Play Mode to test the complete dialogue flow.
3. Create a speaker
- In the Project window, select Assets > Create > StoryPaws > Speaker.
- Configure a stable speaker key.
- Enter the fallback display name.
- Optionally assign a localization key and portrait.
Speaker assets can be reused across multiple dialogues.
4. Create a dialogue
- Select Assets > Create > StoryPaws > Dialogue.
- Give the asset a descriptive name.
- Double-click the Dialogue asset or select Open Visual Editor in its Inspector.
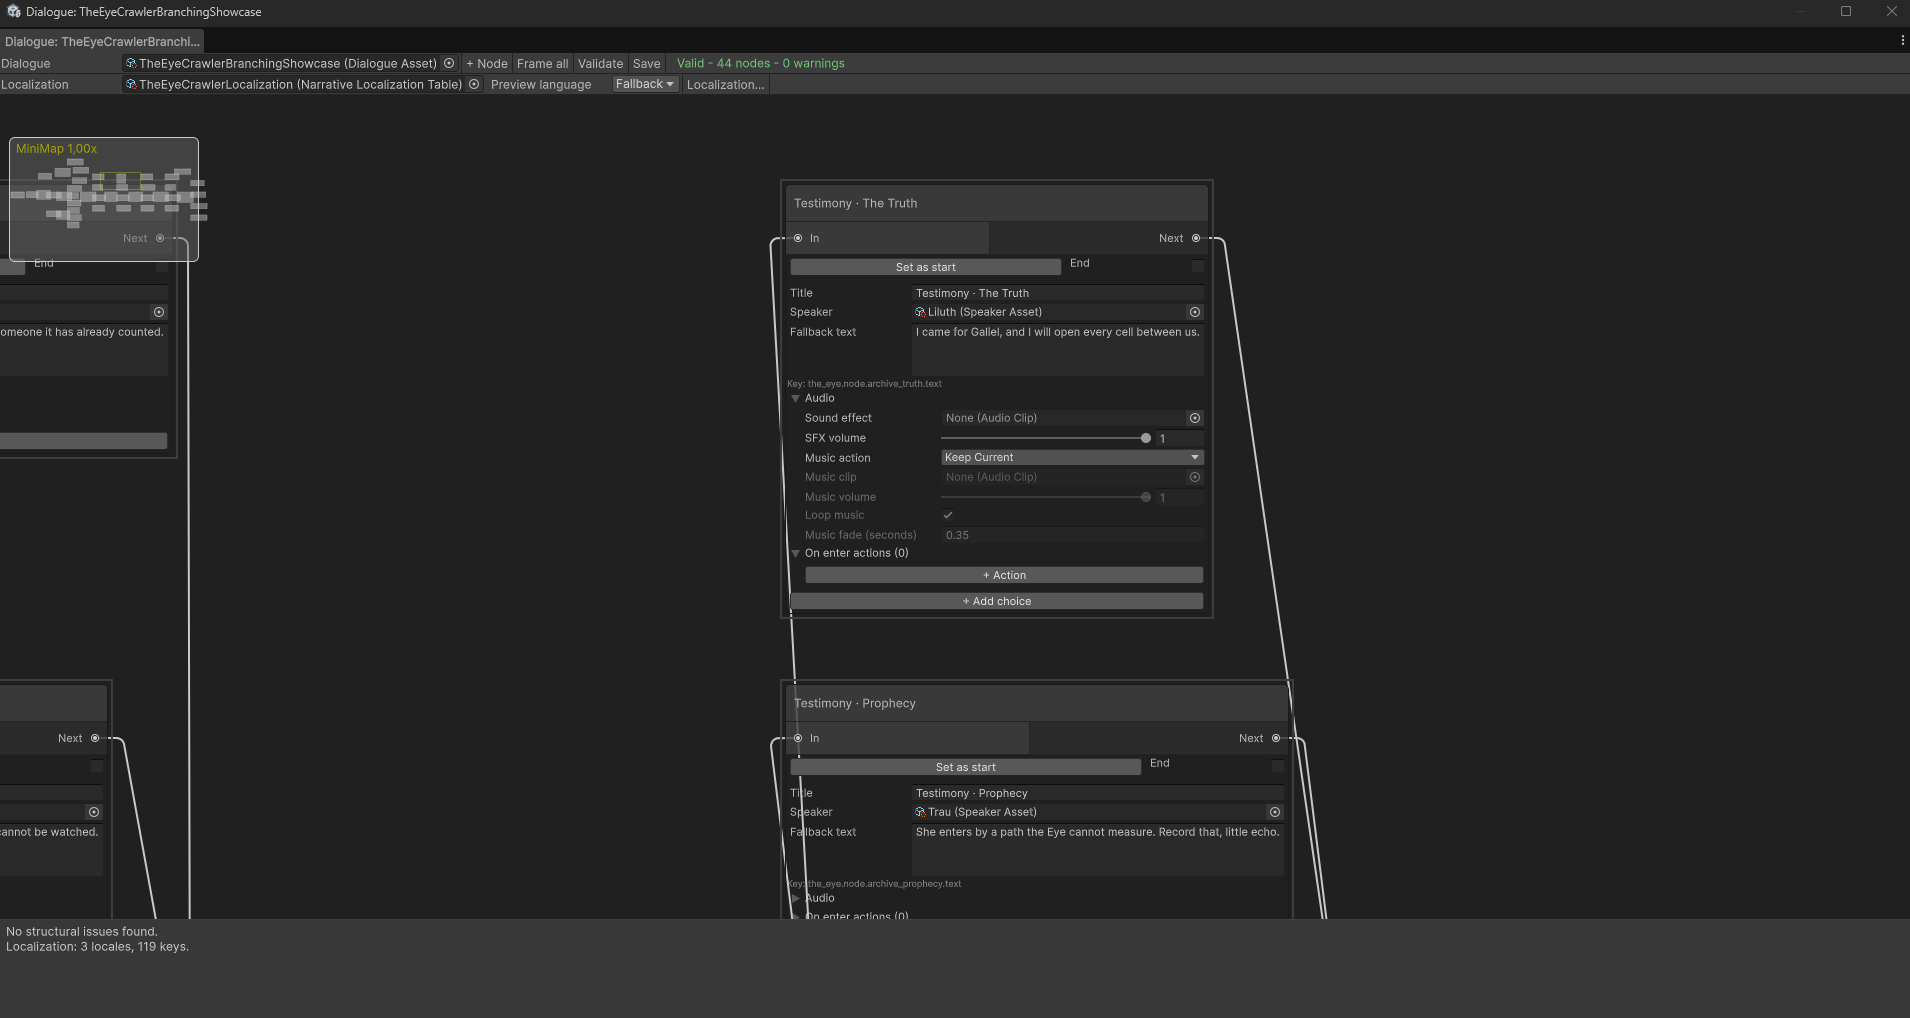
The StoryPaws graph editor will open.
5. Build the dialogue graph
- Select + Node to create a dialogue node.
- Assign a Speaker.
- Write the node's fallback text.
- Mark one node as the Start node.
- Connect its output to another node for linear progression.
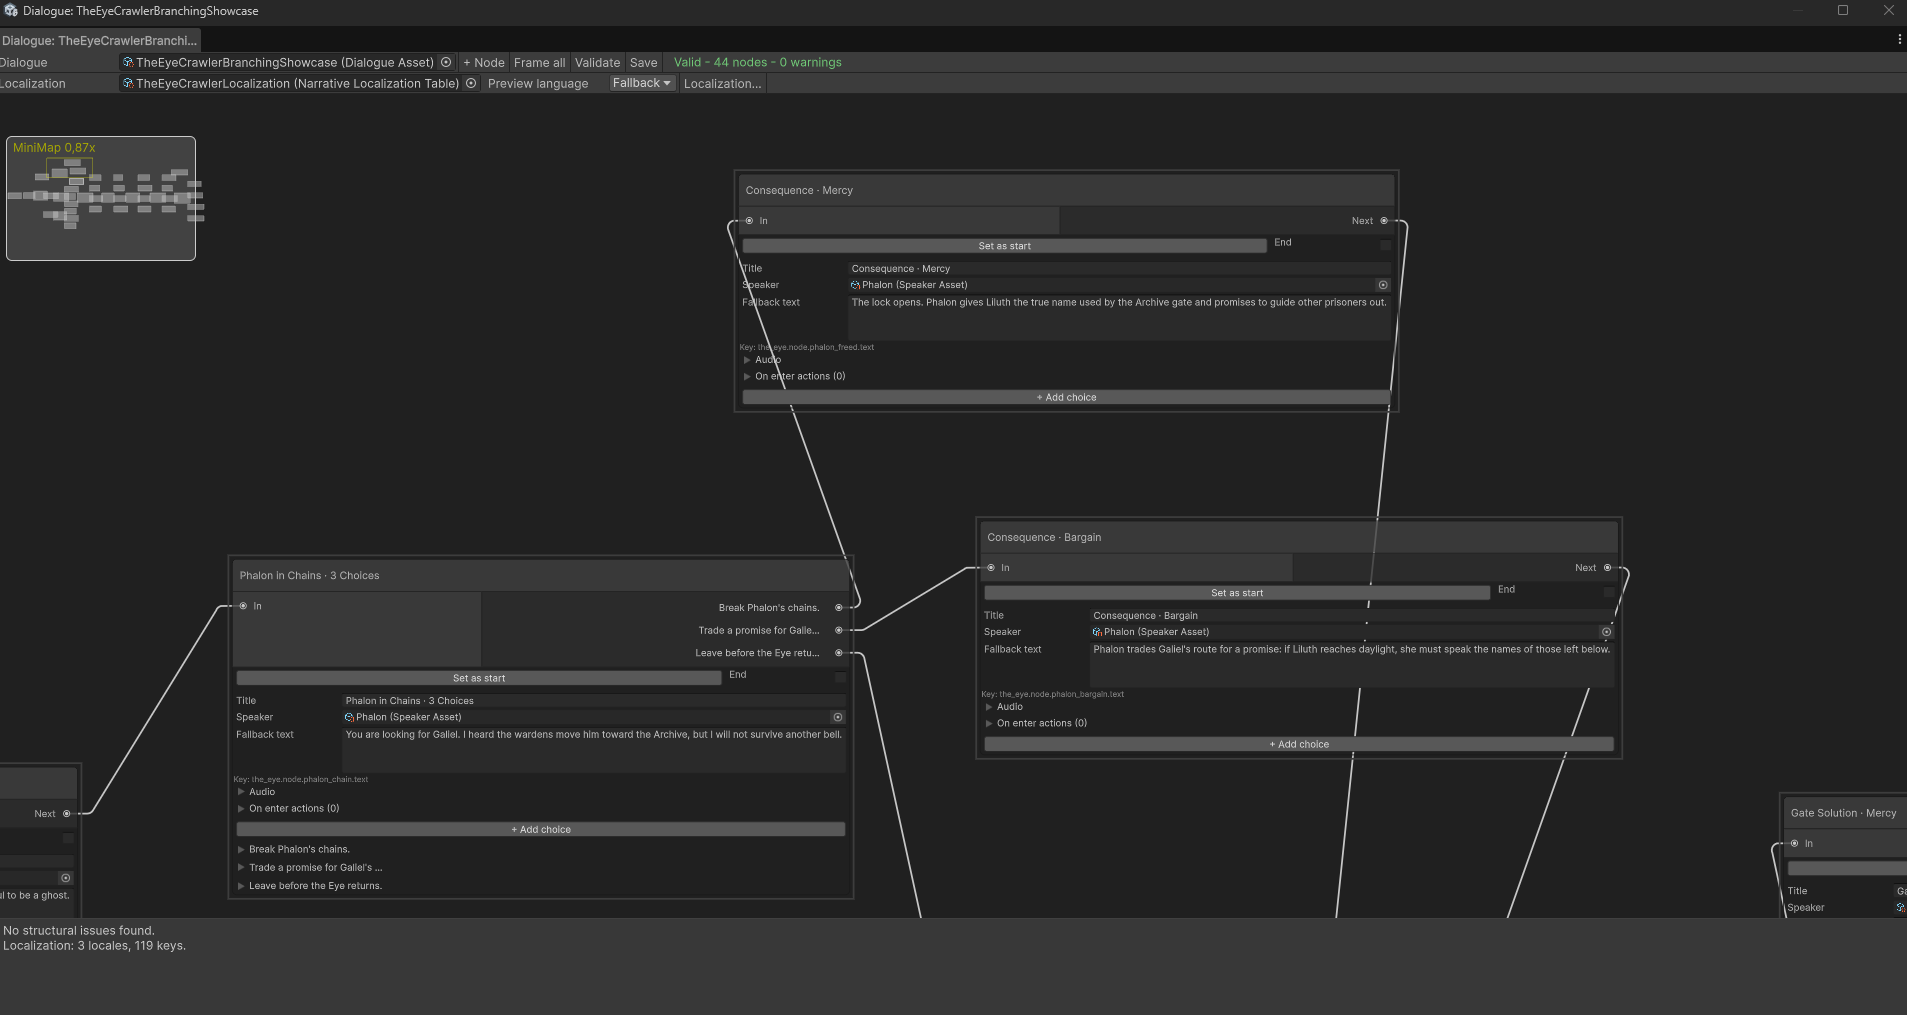
- Use Add choice to create player responses.
- Connect every choice to its destination node.
- Mark final nodes or choices as explicit endings.
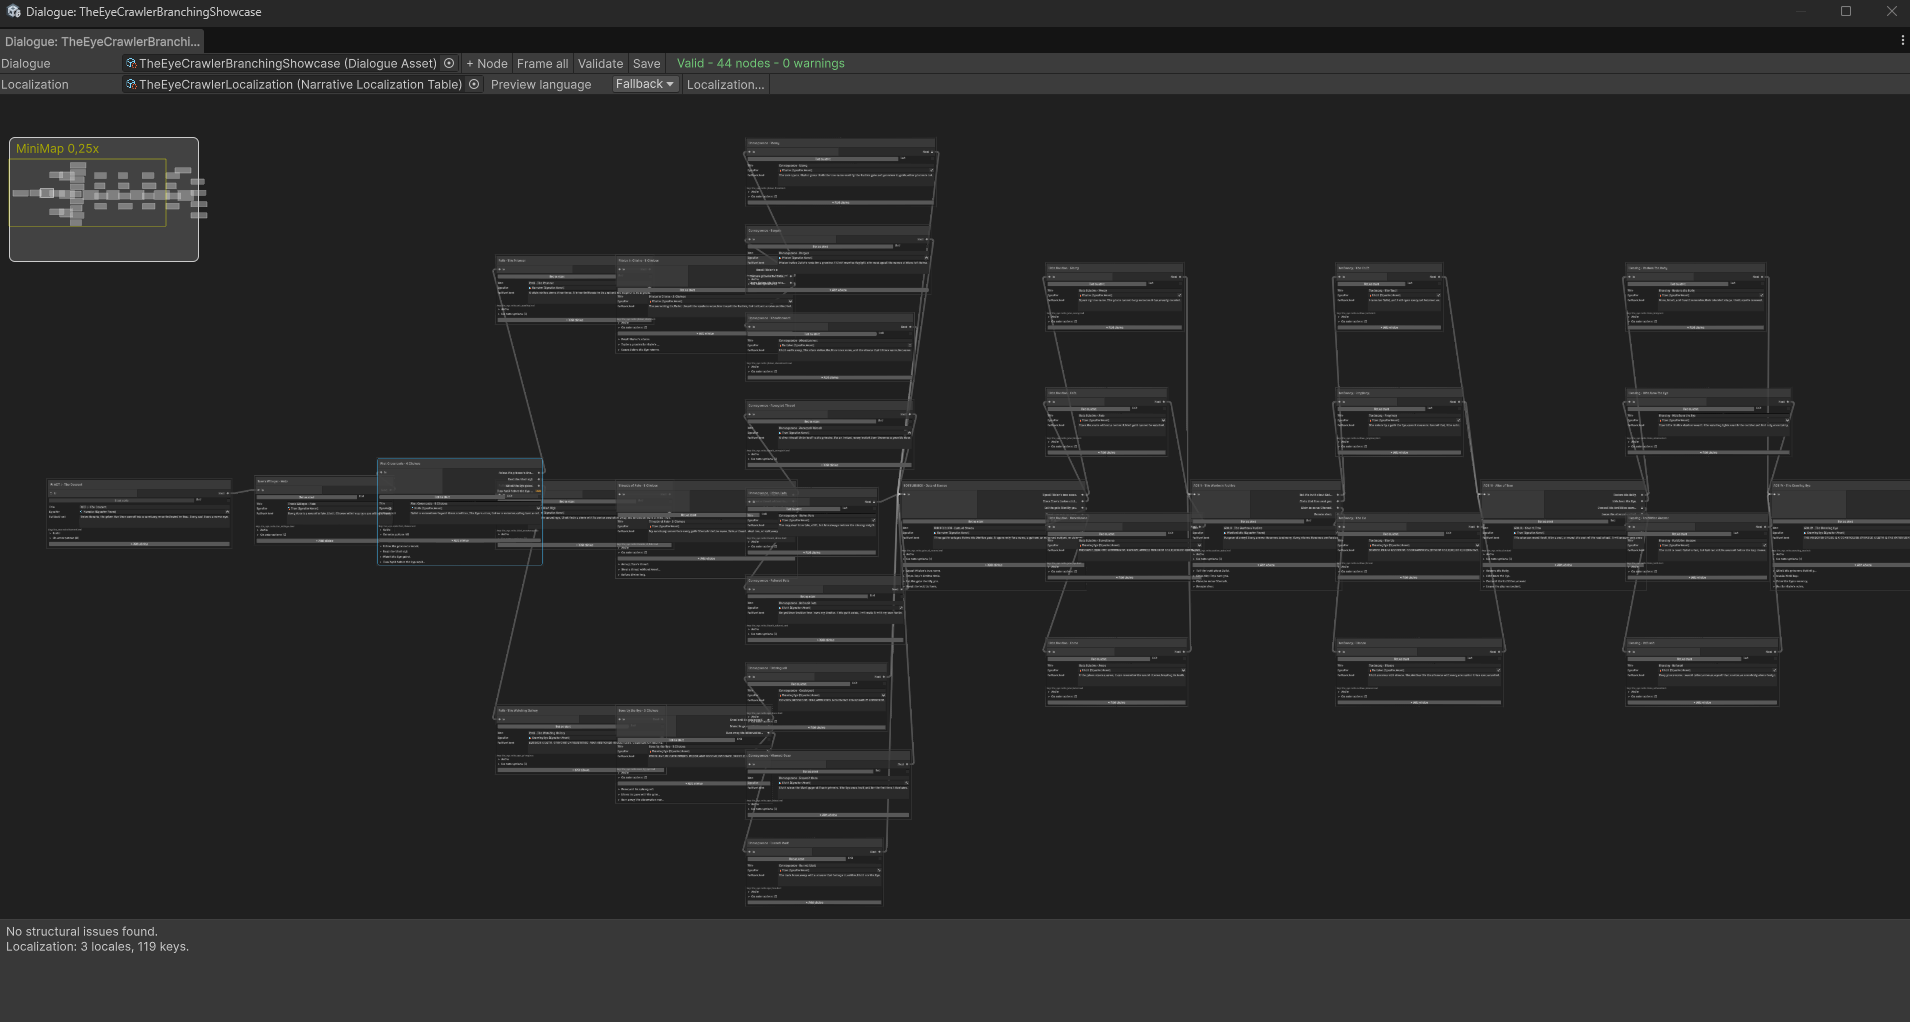
You can move nodes, zoom, use the minimap, and select Frame all to display the complete conversation.
6. Add conditions and actions
Conditions control whether a choice is available.
Examples:
- The player owns an item.
- A quest has started.
- A Boolean flag is true.
- A numeric value is above or below a limit.
Actions modify the host game's state when the player enters a node or selects a choice.
Examples:
- Set a dialogue flag.
- Start a quest.
- Grant an item.
- Change reputation.
- Trigger a game-specific event.
StoryPaws provides generic keys and values. Your game decides what each action does through its runtime integration.
7. Add localization
- Create a StoryPaws Localization Table.
- Open Window > StoryPaws > Localization.
- Assign the Dialogue and Localization Table.
- Synchronize the dialogue keys.
- Export the content as CSV or TSV.
- Add or edit the language columns in a spreadsheet application.
- Import the updated file.
- Return to the graph and select a language from Preview language.
The fallback text remains available when a translation is missing.
StoryPaws does not provide automatic or machine translation.
8. Add sound effects and music
Each dialogue node can define:
- A sound effect.
- A music command.
- Music playback or replacement.
- Fade duration.
- Music stop behavior.
Use the included audio player or listen to StoryPaws audio events and connect them to your own audio system, FMOD, or Wwise integration.
9. Validate and save
Before using a dialogue:
- Select Validate in the graph toolbar.
- Review errors and warnings.
- Fix missing start nodes, invalid links, unreachable nodes, or inconsistent endings.
- Select Save.
Invalid runtime links generate diagnostics and end safely instead of leaving the conversation locked.
10. Use the dialogue at runtime
For the fastest integration:
- Add or reuse a
DialogueSessionController. - Assign the Dialogue asset.
- Configure the locale and typewriter speed.
- Connect the included uGUI presenter.
- Connect the Input System adapter.
- Call
StartDialogue()when the conversation should begin.
You may also create a custom presenter by listening to the session controller's events.
11. Test the complete flow
Confirm that:
- The first interaction opens the dialogue.
- The first advance completes the typewriter effect.
- The next advance moves to the following node.
- Choices appear and connect to the correct branches.
- Conditions hide unavailable choices.
- Actions update the game state.
- Localized text uses the selected language.
- Sound effects and music play at the correct nodes.
- Every branch reaches a valid ending.
Documentation and support
Documentation: https://oliveirachinape.wixsite.com/dogstale/documentacao
Support: dogstaleroteiros@gmail.com
Purchase
In order to download this tool you must purchase it at or above the minimum price of $14.99 USD. You will get access to the following files:
Leave a comment
Log in with itch.io to leave a comment.